
Big Brake Kit Installation: a Complete Guide

Big Brake Kit Installation: a Complete Guide
Upgrading to a big brake kit is one of the most rewarding modifications a vehicle owner can make. Whether you drive a sports car, a heavy-duty truck, or a daily driver that sees occasional track time, a properly installed big brake kit transforms stopping power, pedal feel, and heat management. But the installation itself is where many enthusiasts either succeed brilliantly or run into trouble. This guide walks Canadian vehicle owners through everything involved in a big brake kit installation, from planning and parts checks to the actual step-by-step process and the break-in period that follows.
What Is a Big Brake Kit and Why Upgrade?
A big brake kit (BBK) replaces your factory brake components with larger, higher-capacity parts. Typically, a BBK includes larger-diameter rotors, multi-piston calipers, upgraded brake pads, braided stainless steel lines, and all the mounting hardware needed for a bolt-on fit. The goal is simple: increase the surface area and clamping force available to slow the vehicle, while improving the system's ability to dissipate heat.

Factory brakes are engineered to a cost target and are usually sized for normal driving. Under repeated hard stops, towing, or track use, they fade, warp, and lose consistency. A big brake kit addresses these weaknesses directly. Benefits include:
- Shorter stopping distances through greater rotor diameter and caliper clamping force
- Reduced brake fade thanks to better heat dissipation and airflow
- Improved pedal feel with stiffer calipers and braided lines
- Greater consistency under towing, hauling, or performance driving
- Longer component life when matched to the right pads and driving conditions
For Canadian drivers, there is an added consideration: temperature swings. A brake system that performs well on a cold January morning and during a hot summer highway descent needs quality components. Companies like DBC Brakes / CrossDrilledRotors.ca specialize in durable, performance-oriented disc brake kits and components for exactly this range of conditions, with sales tax included and fast shipping across Canada.
Before You Start: Planning and Preparation
The single biggest cause of installation problems is poor planning. Before you touch a wrench, confirm the following.
Verify Fitment
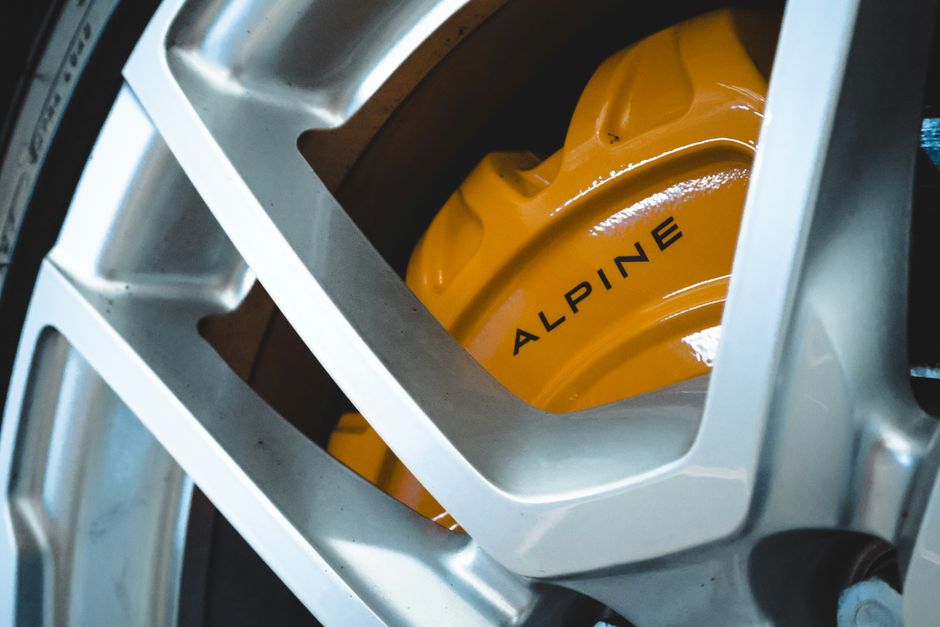
Not every big brake kit fits every wheel. Larger calipers and rotors often require bigger wheels and specific offset and spoke clearance. Measure twice: check the manufacturer's fitment template against your actual wheel, and confirm the kit is designed for your exact make, model, and year. Brake upgrades are model-specific for good reason.
Check What Else Needs Upgrading
A big brake kit increases braking force, which shifts stress to other parts of the vehicle. Consider whether you also need:
- Brake master cylinder and proportioning valve compatibility
- Upgraded brake fluid with a higher boiling point (DOT 4 or DOT 5.1)
- Stainless steel brake lines to handle higher pressures
- Hub and wheel bearing condition, since everything mounts to these
- Suspension and tire grip, because brakes can only work as well as the tires allow
It is worth noting that braking performance is only one part of overall vehicle capability. Even the best brakes cannot overcome poor tires or worn suspension. Organizations such as the American College of Sports Medicine emphasize the importance of preparation and proper technique in performance contexts, and the same principle applies here: preparation determines results.
Gather Tools and Safety Equipment
A proper big brake kit installation requires more than a basic socket set. You will want:
- Torque wrench (critical for caliper and wheel bolts)
- Brake fluid, bleeder bottle, and clear hose
- Jack, jack stands, and wheel chocks
- Brake cleaner, lint-free rags, and gloves
- Thread locker for caliper mounting bolts
- Calipers, piston compressor, or appropriate retraction tools
Always work on a level surface, use jack stands rather than relying on a jack alone, and wear eye protection when working with brake cleaner and fluid.
Step-by-Step Big Brake Kit Installation
The exact procedure varies by kit, but the general sequence is consistent. Always follow the manufacturer's instructions as the primary reference.

Step 1: Prepare the Vehicle
Loosen the wheel lug nuts slightly before lifting the vehicle. Raise the front (or rear) end, secure it on jack stands, and remove the wheels. Work on one axle at a time so you always have a reference point if you get stuck.
Step 2: Remove the Factory Brake Components
Unbolt the caliper and hang it safely out of the way using a bungee or wire—never let it dangle by the brake line. Remove the caliper bracket, then the rotor. If the rotor is seized to the hub, use penetrating oil and a rubber mallet; avoid hammering the hub face directly.
Step 3: Clean and Inspect the Hub
This step is often skipped, but it matters. Scrape off any rust or debris from the hub face so the new rotor sits perfectly flat. A rotor that is not seated flush can cause vibration and uneven pad wear. Inspect the hub, bearings, and studs for damage.
Step 4: Install the New Rotor
Slide the new rotor into position. If your kit uses directional rotors (common with drilled or slotted designs), confirm the correct left and right orientation. Secure the rotor with the retaining screws or the caliper bracket, depending on the design. Many performance rotors are cross-drilled or slotted, and orientation affects both cooling and pad cleaning.
Step 5: Mount the Caliper Bracket and Caliper
Install the caliper adapter bracket using the supplied hardware and a thread locker. Torque to specification. Then fit the new caliper and pads. Multi-piston calipers must be positioned so the pads contact the rotor squarely. Double-check that the brake line routing will not contact suspension components at full steering lock.
Step 6: Connect and Bleed the Brake Lines
Attach the braided stainless lines, using new copper crush washers where required. Route lines away from moving parts and heat sources. Once everything is connected, bleed the system thoroughly, starting from the caliper farthest from the master cylinder. Use fresh, high-quality brake fluid and keep the reservoir topped up throughout the process. Never let it run dry—air in the system ruins pedal feel.
Step 7: Check for Leaks and Clearances
Pump the brake pedal several times to seat the pads against the rotor. Inspect every connection for weeping fluid. Rotate the wheel by hand and confirm the caliper does not contact the wheel spokes or the wheel weights. Clearance failures here are a common and expensive mistake.
Step 8: Reinstall Wheels and Torque
Mount the wheels and torque the lug nuts to the manufacturer's specification in a star pattern. Lower the vehicle, then re-torque after the first short drive.
The Break-In Period and Post-Installation Care
New brakes are not ready for full performance the moment you drive away. Brake pads and rotors need a bed-in process to transfer an even layer of pad material onto the rotor face. Without it, you risk uneven deposits, vibration, and reduced performance.
A typical bed-in procedure looks like this:
- Find a safe, empty road or track environment.
- Perform several moderate stops from around 60 km/h to warm the system gradually.
- Complete a series of harder stops from higher speeds, without coming to a full stop.
- Drive for several minutes without braking to let the components cool evenly.
- Avoid a full stop with hot brakes, which can leave pad deposits on the rotor.
After bedding in, check the brake fluid level, inspect for leaks, and re-torque the lug nuts. If you notice pulsation, noise, or a soft pedal, investigate immediately rather than waiting for the next service. Choosing quality ceramic brake pads can also help minimize noise and dust during this phase.
Common Installation Mistakes to Avoid
- Skipping hub cleaning, which causes runout and vibration
- Reusing old brake fluid or letting the reservoir run dry during bleeding
- Forgetting thread locker on caliper mounting bolts
- Improper line routing that rubs or stretches at full lock
- Ignoring wheel clearance until the caliper grinds the wheel
- Not bed-in the pads, then blaming the kit for poor performance
Any one of these can turn an excellent performance brake upgrade into a frustrating problem. Patience and precision during the install save far more time than fixing mistakes afterward.
Conclusion
A big brake kit installation is a manageable project for a confident DIY enthusiast, provided you plan carefully, verify fitment, use quality parts, and follow a disciplined break-in procedure. The payoff is a vehicle that stops harder, fades less, and feels more confidence-inspiring in every condition—from winter commutes to summer track days. For Canadian drivers who want dependable, performance-oriented brake components that ship quickly and include sales tax, choosing the right supplier matters as much as the installation itself. Do the job right once, and your brakes will reward you every time you press the pedal.